How to enable customers to call your agents directly from your iOS application
The VideoEngager SDK for iOS allows you to integrate chat, voice, and video calling into your native iOS mobile applications. This way, you would enable your customers:
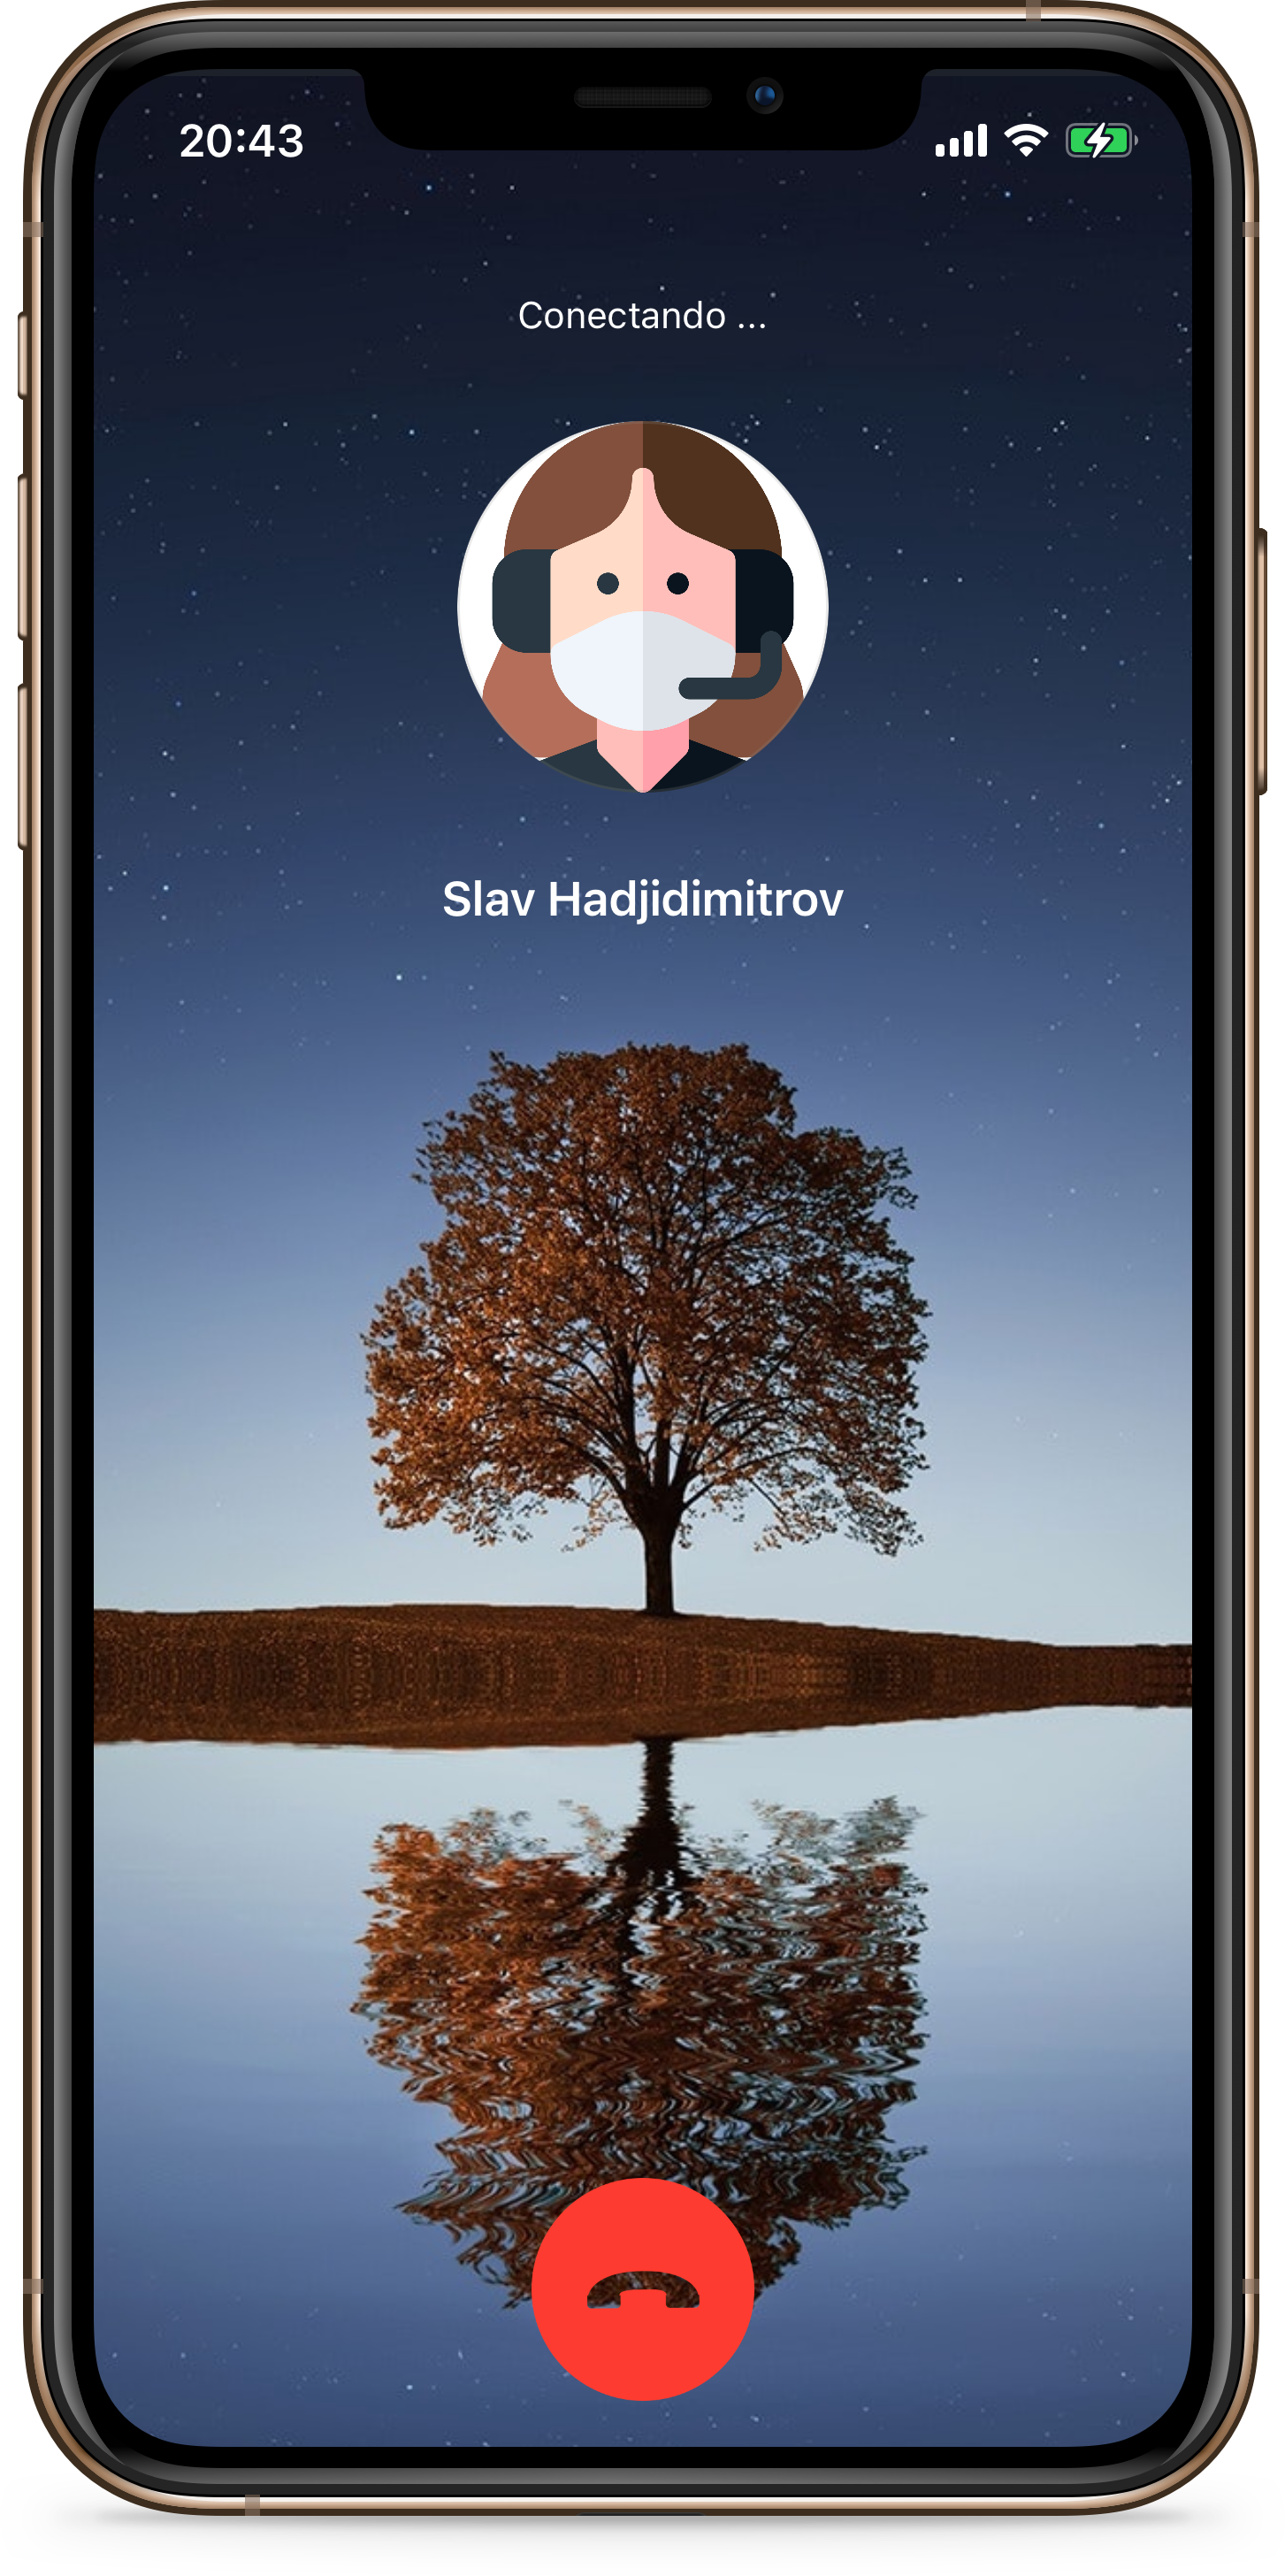
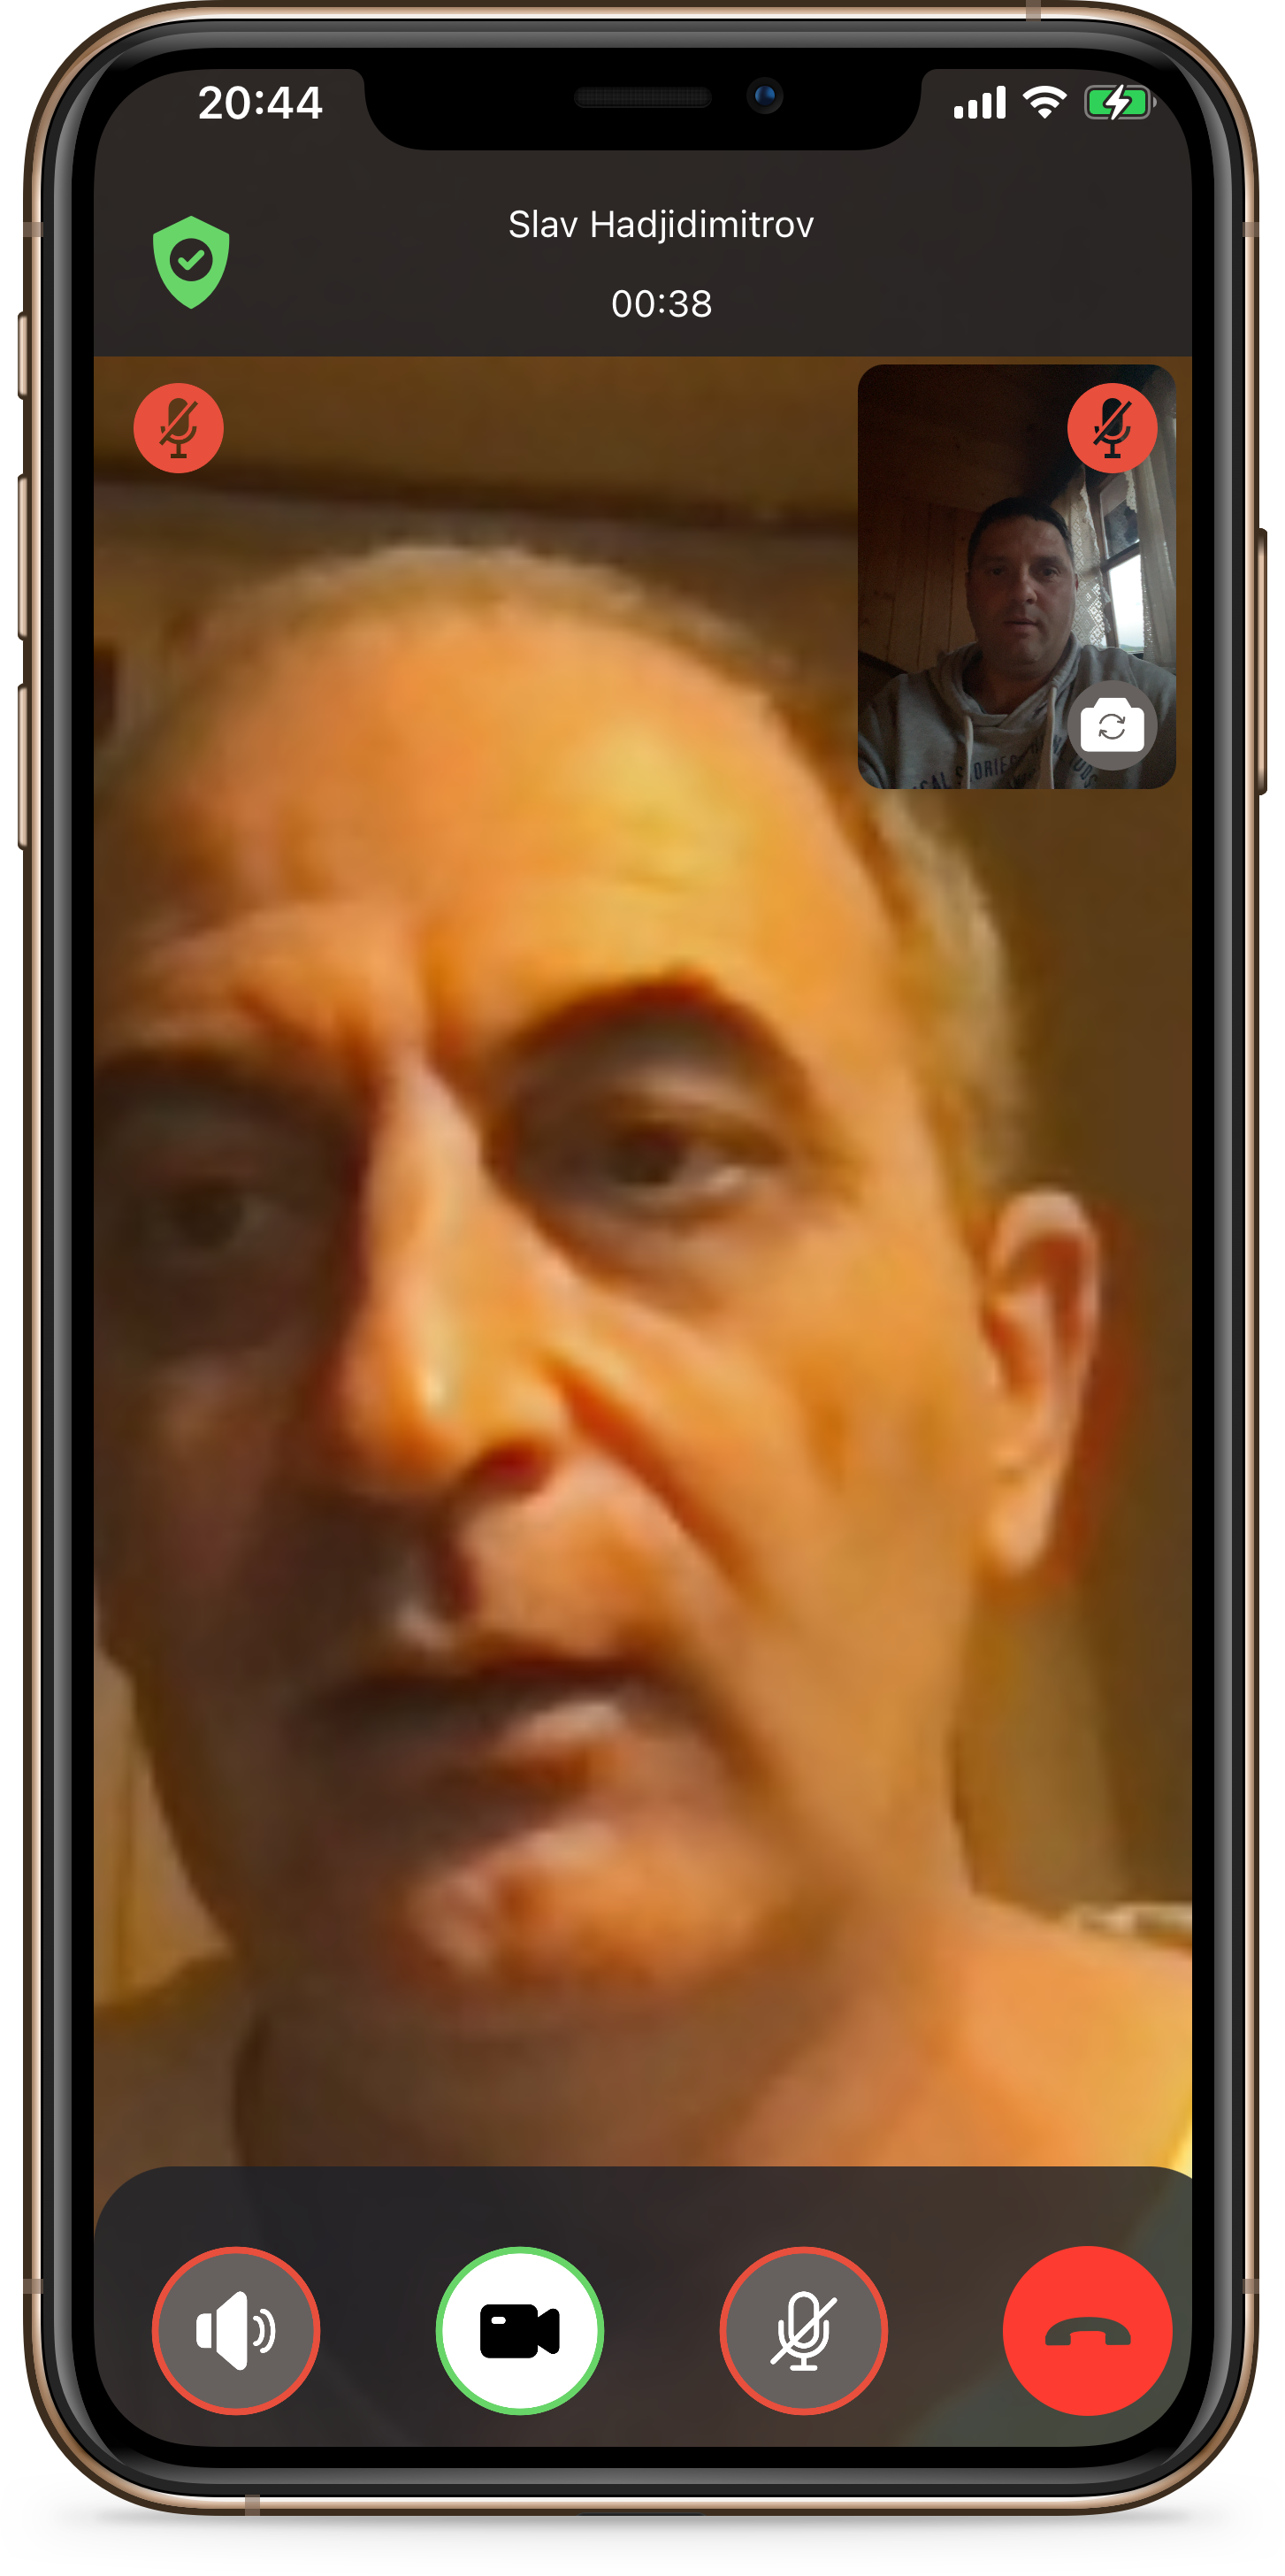
- to call your agents directly from your iOS application through Click to Audio and/or Click to Video type of functionalities
- to initiate a chat session over Genesys chat channel
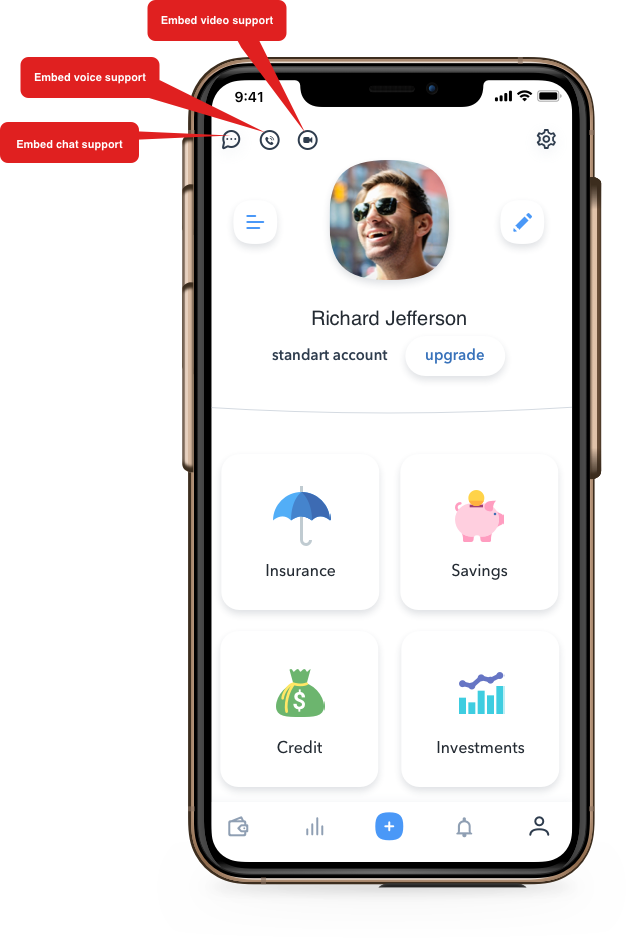
Image based on a design of a Banking App Concept by Vitaly Silkin via Sketch App Sources
Highlights
- Available for VideoEngager Standalone
- Supports Genesys Cloud
- To support Genesys Engage (estimated release date mid Jun 2021)
- Onmi-channel experience + click to chat, click to voice, click to video
- Localization (supports English (en_US), Spanish (es_ES), Portuguese (pt_PT), German (de_DE), and Bulgarian (bg_BG))
- Video on/off + Front/back camera rotation
- Mic on/off + multiple audio sources (automatic and manual selection)
- Secure File Transfer
- Torch control
 |
 |
Prerequisites
- Xcode 12.0 or higher
- Swift 4.0 or higher
- iOS 13.0 or higher
Integration
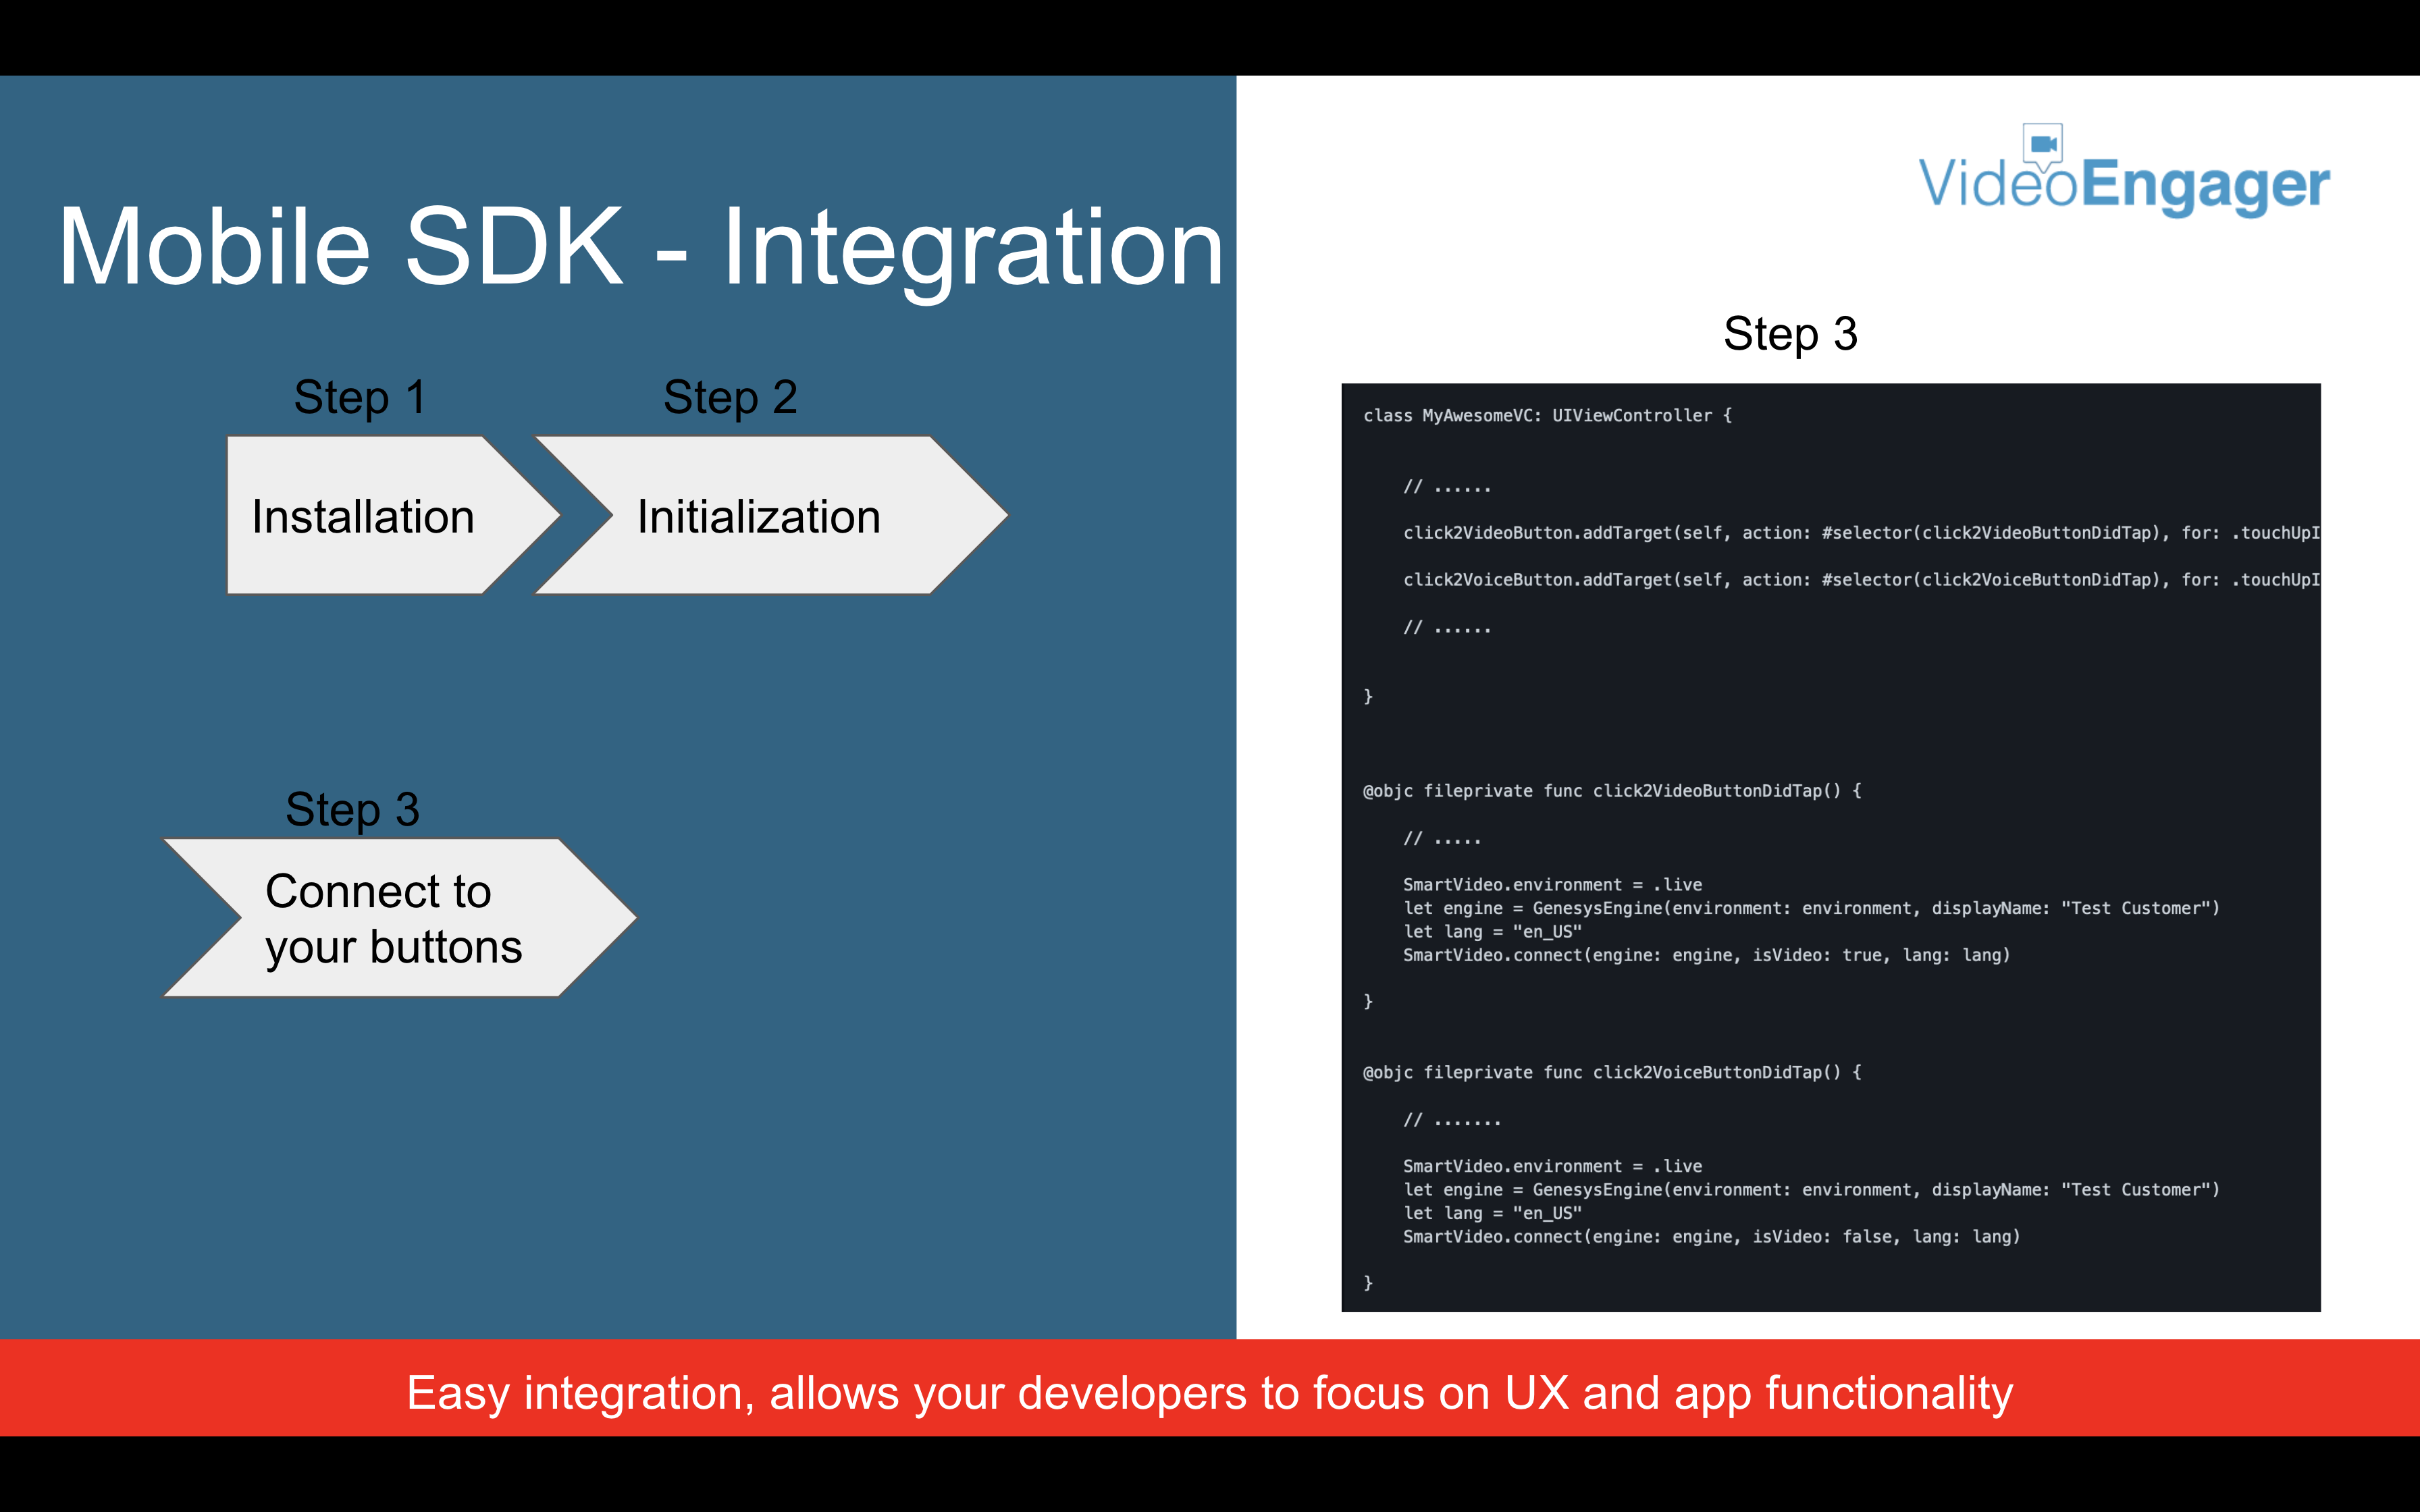
The VideoEngager SDK can be integrated in three steps:
- Step 1: SDK Installation
- Step 2: SDK Initialization
- Step 3: Connect Native app buttons
Step 1 - SDK Installation
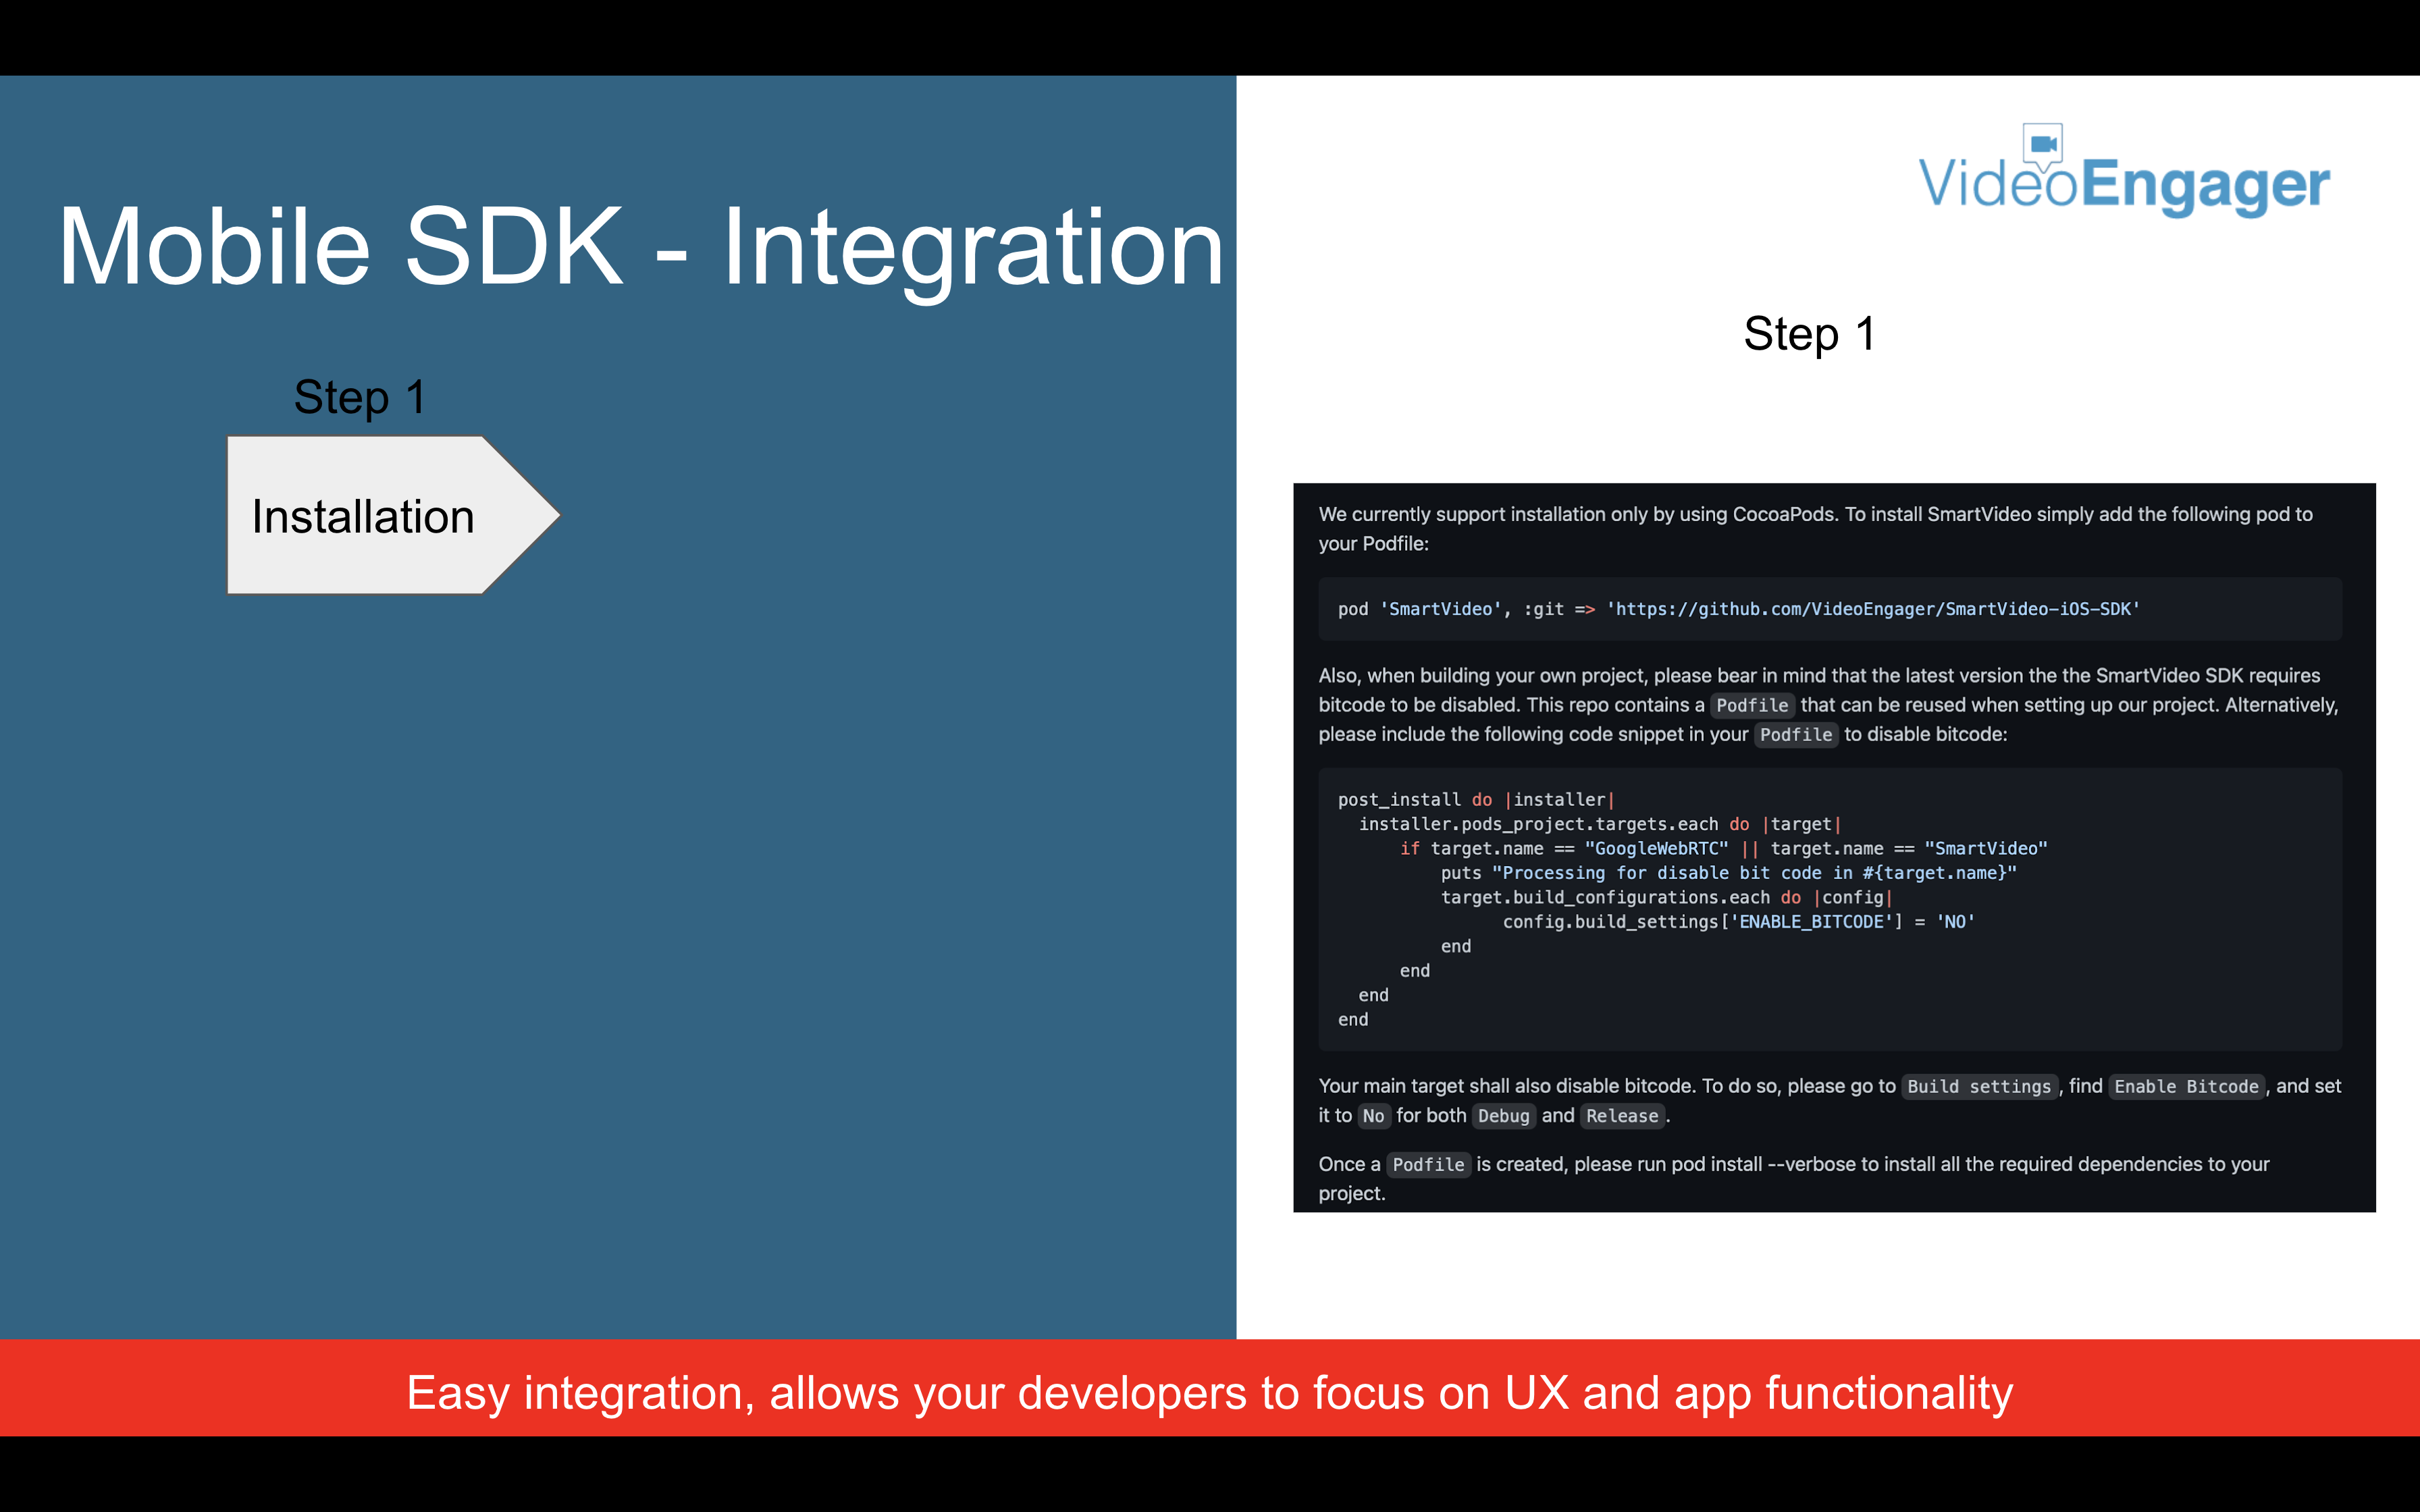
We currently support installation only by using CocoaPods. To install VideoEngager simply add the following to your Profile:
platform:ios, '13.0'

target 'TARGET_NAME' do

  use_frameworks!
  pod 'SmartVideo', :git => 'https://github.com/VideoEngager/SmartVideo-iOS-SDK'

end
post_install do |installer|
   installer.pods_project.targets.each do |target|
     if target.name == "GoogleWebRTC" || target.name == "SmartVideo"
       puts "Processing for disable bit code in #{target.name}"
       target.build_configurations.each do |config|
          config.build_settings['ENABLE_BITCODE'] = 'NO'
       end
     end
   end
end
Once Podfile is created / updated, please run pod install --verbose or pod update to install / update the dependencies to your project.
Step 2 - SDK Initialization for Genesys Cloud
The SDK initialization process is consisting of three sub-steps.
- Initialization Sub-Step 1: Configure SDK to use your Genesys Cloud Organization
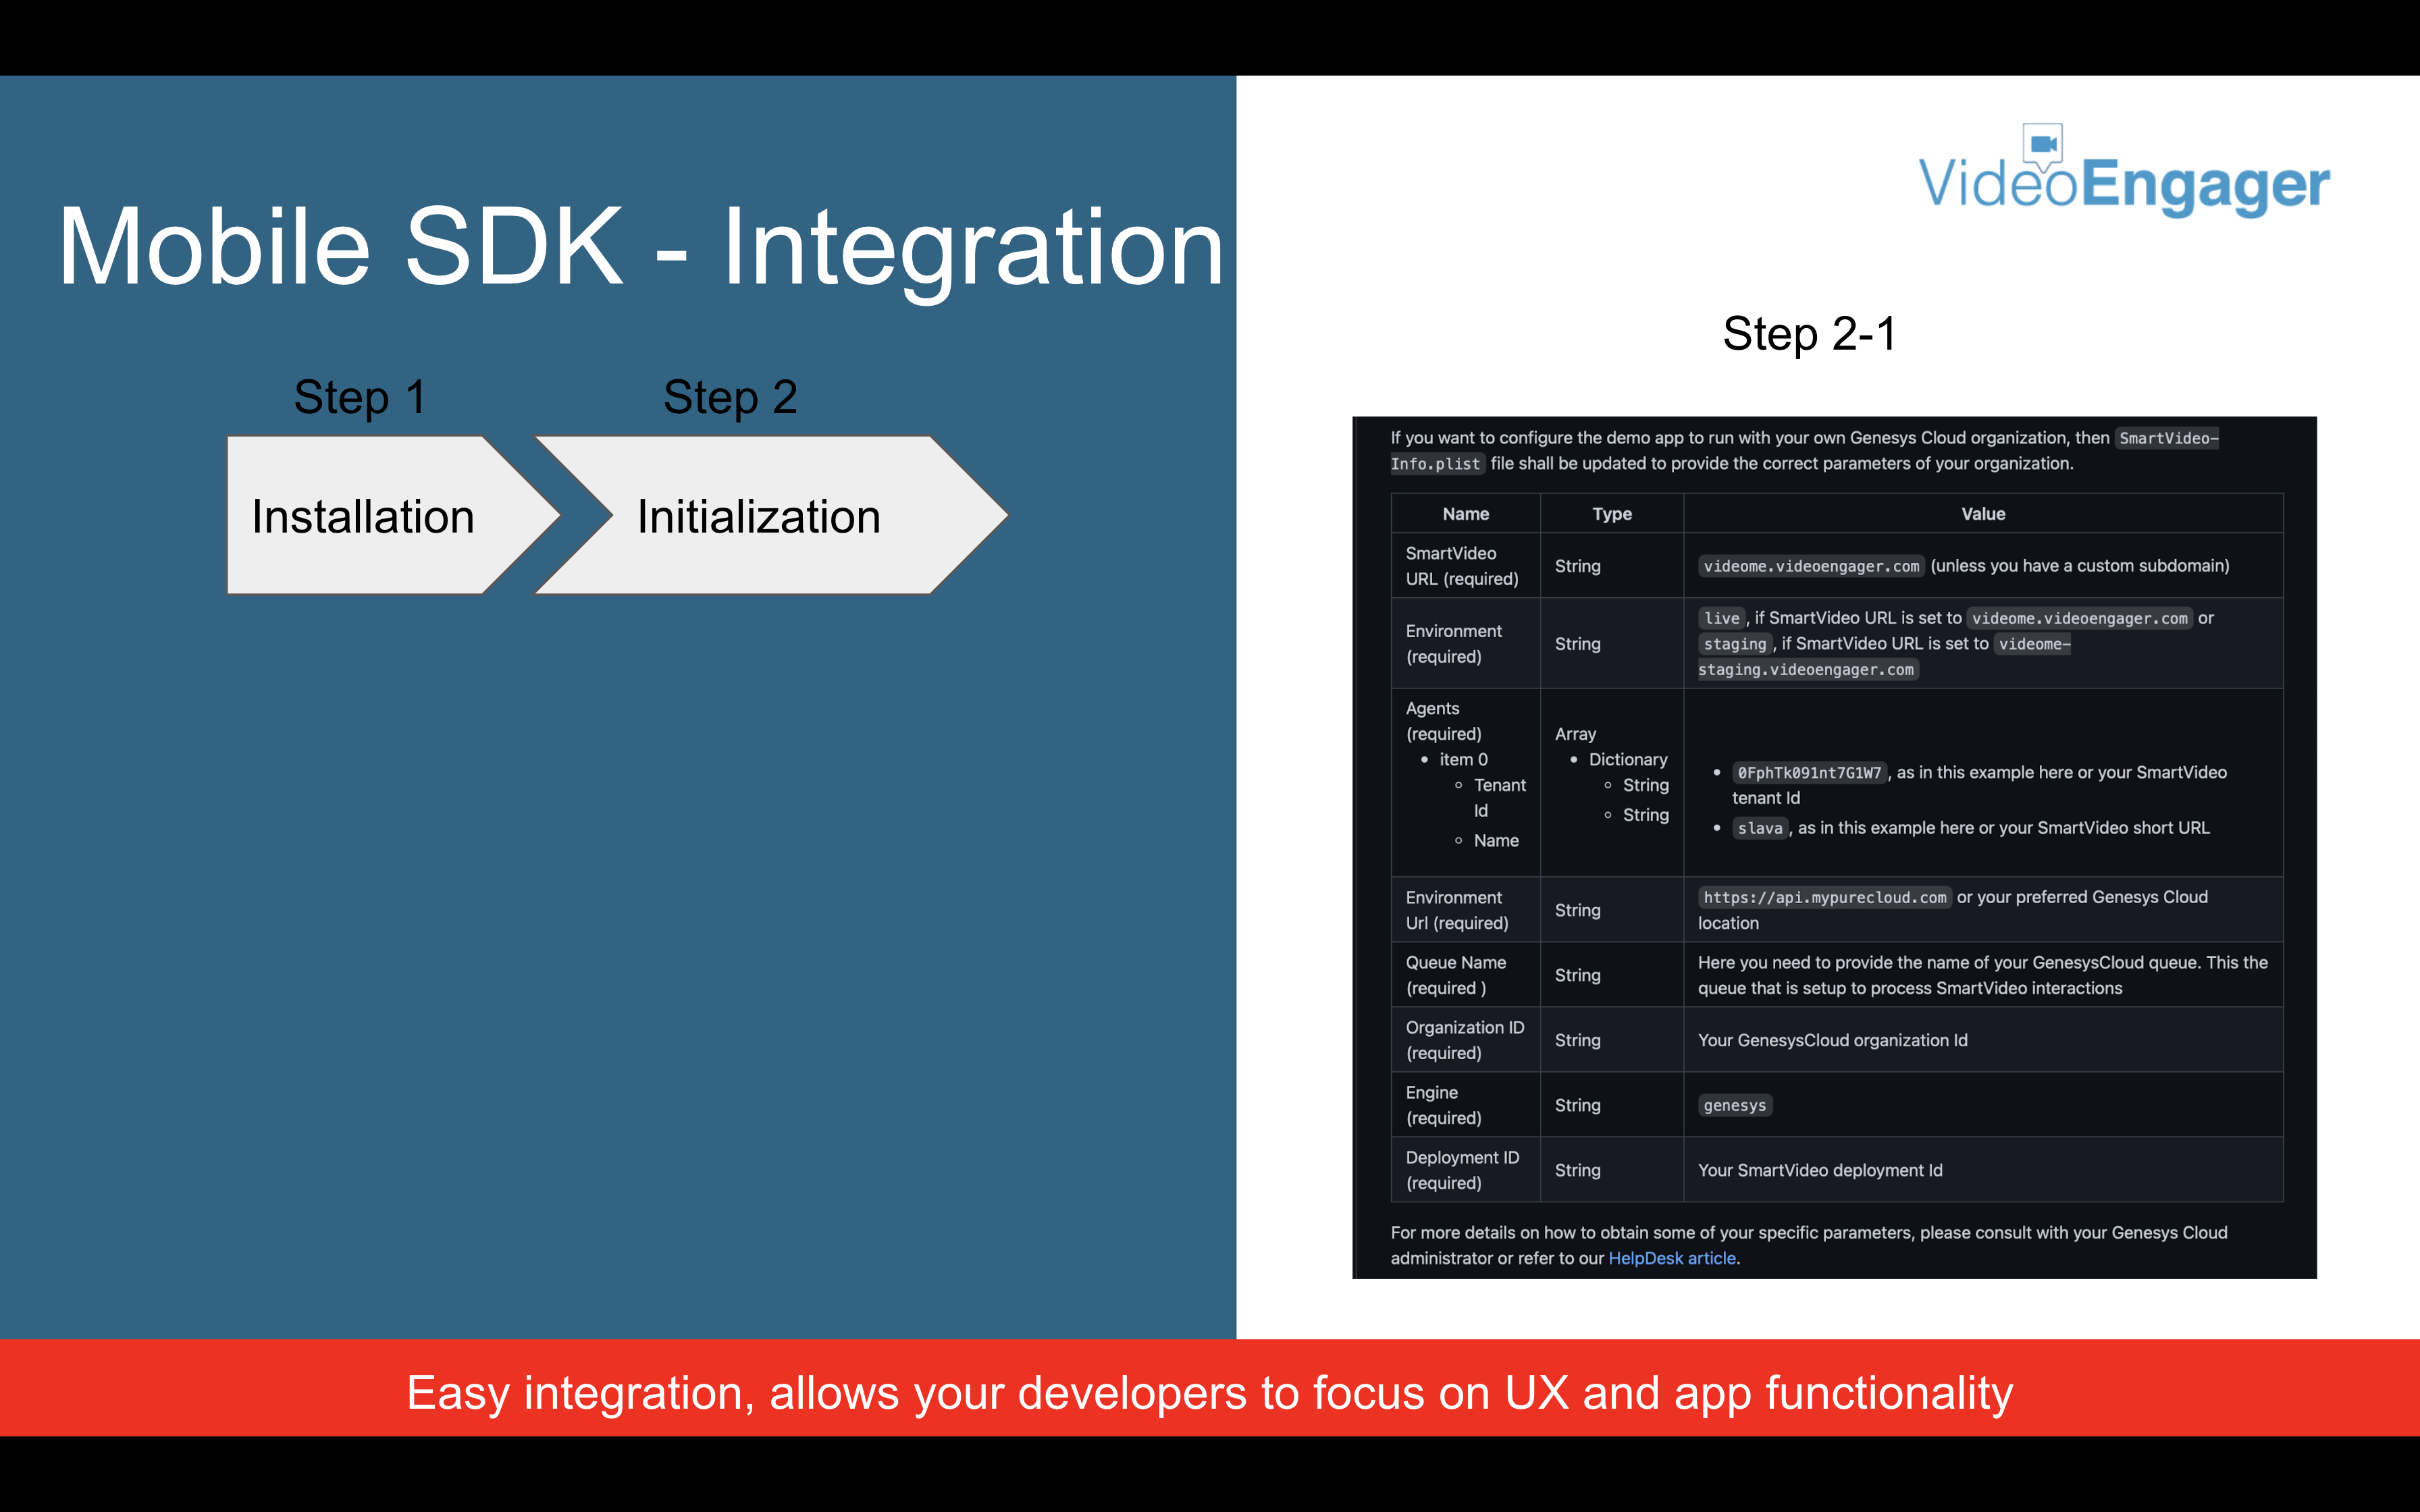
SmartVideo-Info.plist file inside the XCode project with the host app. The SmartVideo-Info.plist file is a structured text file that contains essential configuration information for initialization of the SDK. Failure to integrate the file inside your XCode project will result in build time error. Same will happen, if the information list is incomplete. | Name | Type | Value |
| SmartVideo URL | String | videome.videoengager.com (unless you have a custom subdomain) |
| Environment | String | live, if SmartVideo URL is set to videome.videoengager.com or staging, if SmartVideo URL is set to videome-staging.videoengager.com |
|
agents - item 0 = Tenant ID
= Name |
Array Dictionary String
String |
|
| Environment Url | String | https://api.mypurecloud.com (or your preferred Genesys Cloud location) |
| Queue Name | String | Here you need to provide the name of your GenesysCloud queue. This the queue that is setup to process VideoEngager interactions |
| Organization ID | String | Your GenesysCloud organization Id |
| Engine | String | genesys |
| Deployment ID | String | Your VideoEngager deployment Id |
2. Initialization Sub-Step 2: SDK configuration at run time
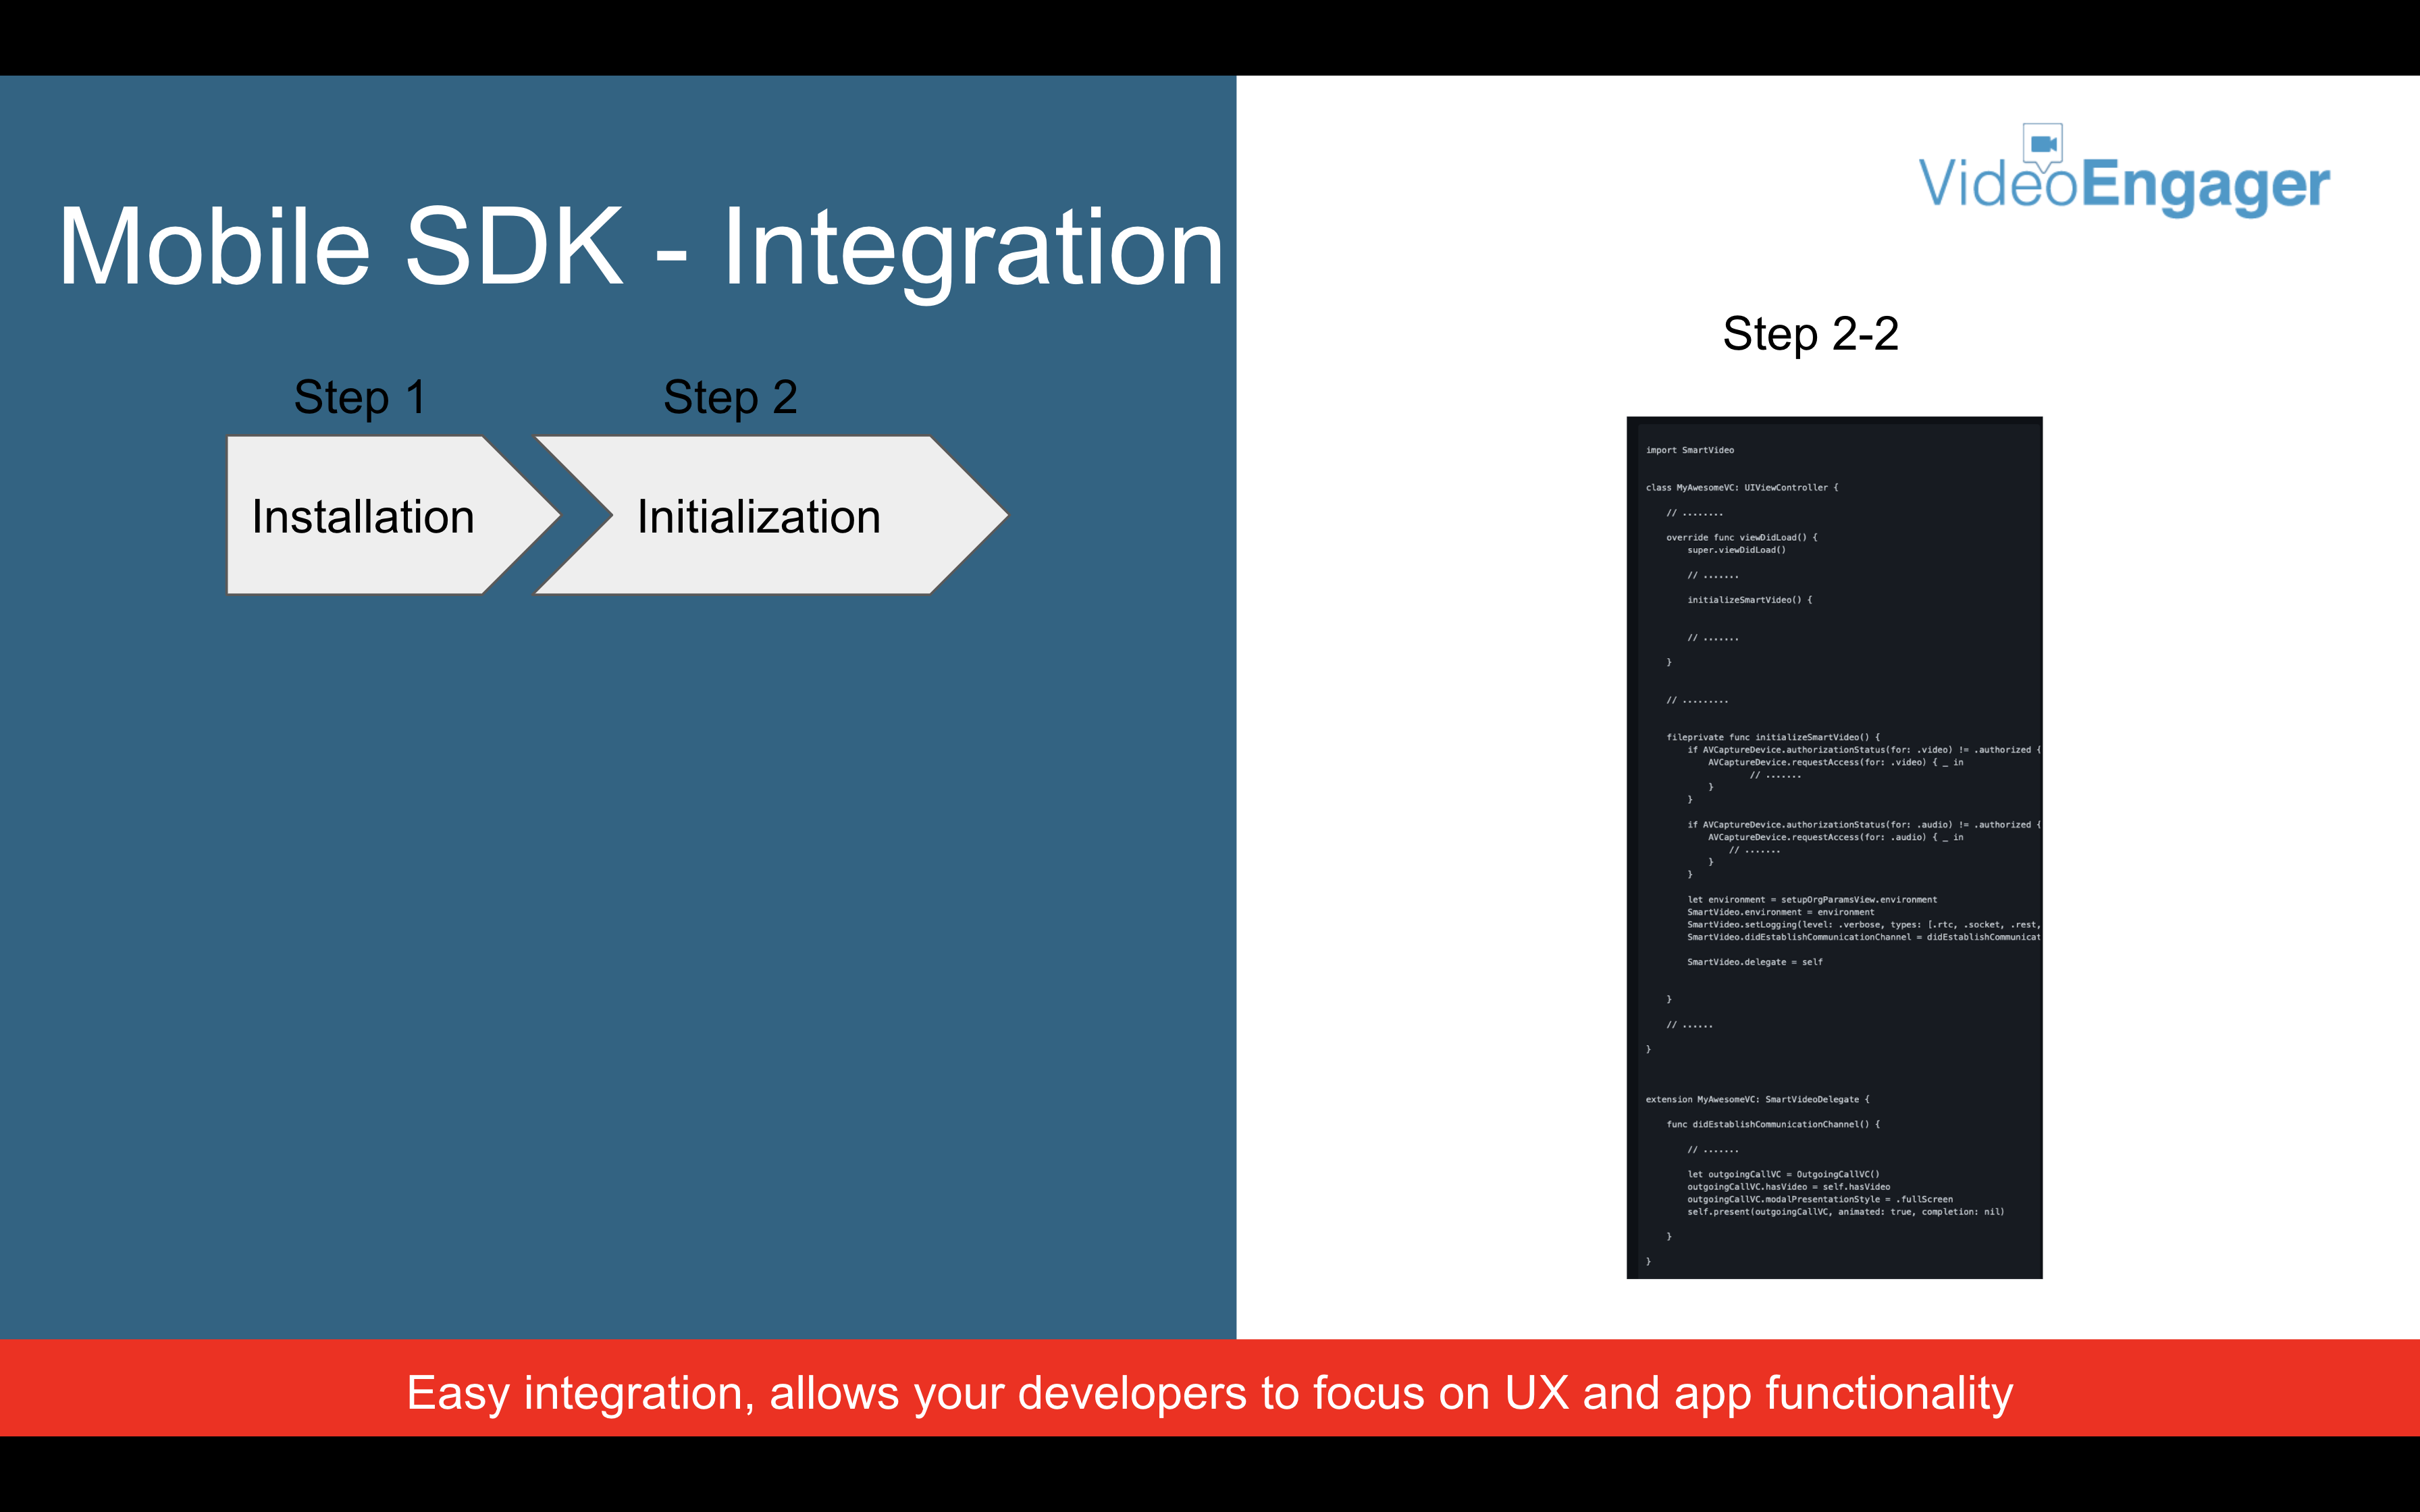
- import VideoEngager
- initialize VideoEngager inside the viewDidLoad method of your UIViewController
import SmartVideo


class MyAwesomeVC: UIViewController {

   // ........

   override func viewDidLoad() {
       super.viewDidLoad()

       // .......

       initializeSmartVideo() {


       // .......

   }


   // .........


   fileprivate func initializeSmartVideo() {
      if AVCaptureDevice.authorizationStatus(for: .video) != .authorized {
           AVCaptureDevice.requestAccess(for: .video) { _ in
               // .......
           }
      }

      if AVCaptureDevice.authorizationStatus(for: .audio) != .authorized {
           AVCaptureDevice.requestAccess(for: .audio) { _ in
               // .......
           }
      }

      let environment = setupOrgParamsView.environment
      SmartVideo.environment = environment
      SmartVideo.setLogging(level: .verbose, types: [.rtc, .socket, .rest, .webRTC, .genesys, .callkit])
      SmartVideo.didEstablishCommunicationChannel = didEstablishCommunicationChannel

      SmartVideo.delegate = self


    }

    // ......

}


extension MyAwesomeVC: SmartVideoDelegate {

    func didEstablishCommunicationChannel() {

          // .......

          let outgoingCallVC = OutgoingCallVC()
          outgoingCallVC.hasVideo = self.hasVideo
          outgoingCallVC.modalPresentationStyle = .fullScreen
          self.present(outgoingCallVC, animated: true, completion: nil)

    }

}
3. Initialization Sub-Step 3: Add SDK delegates
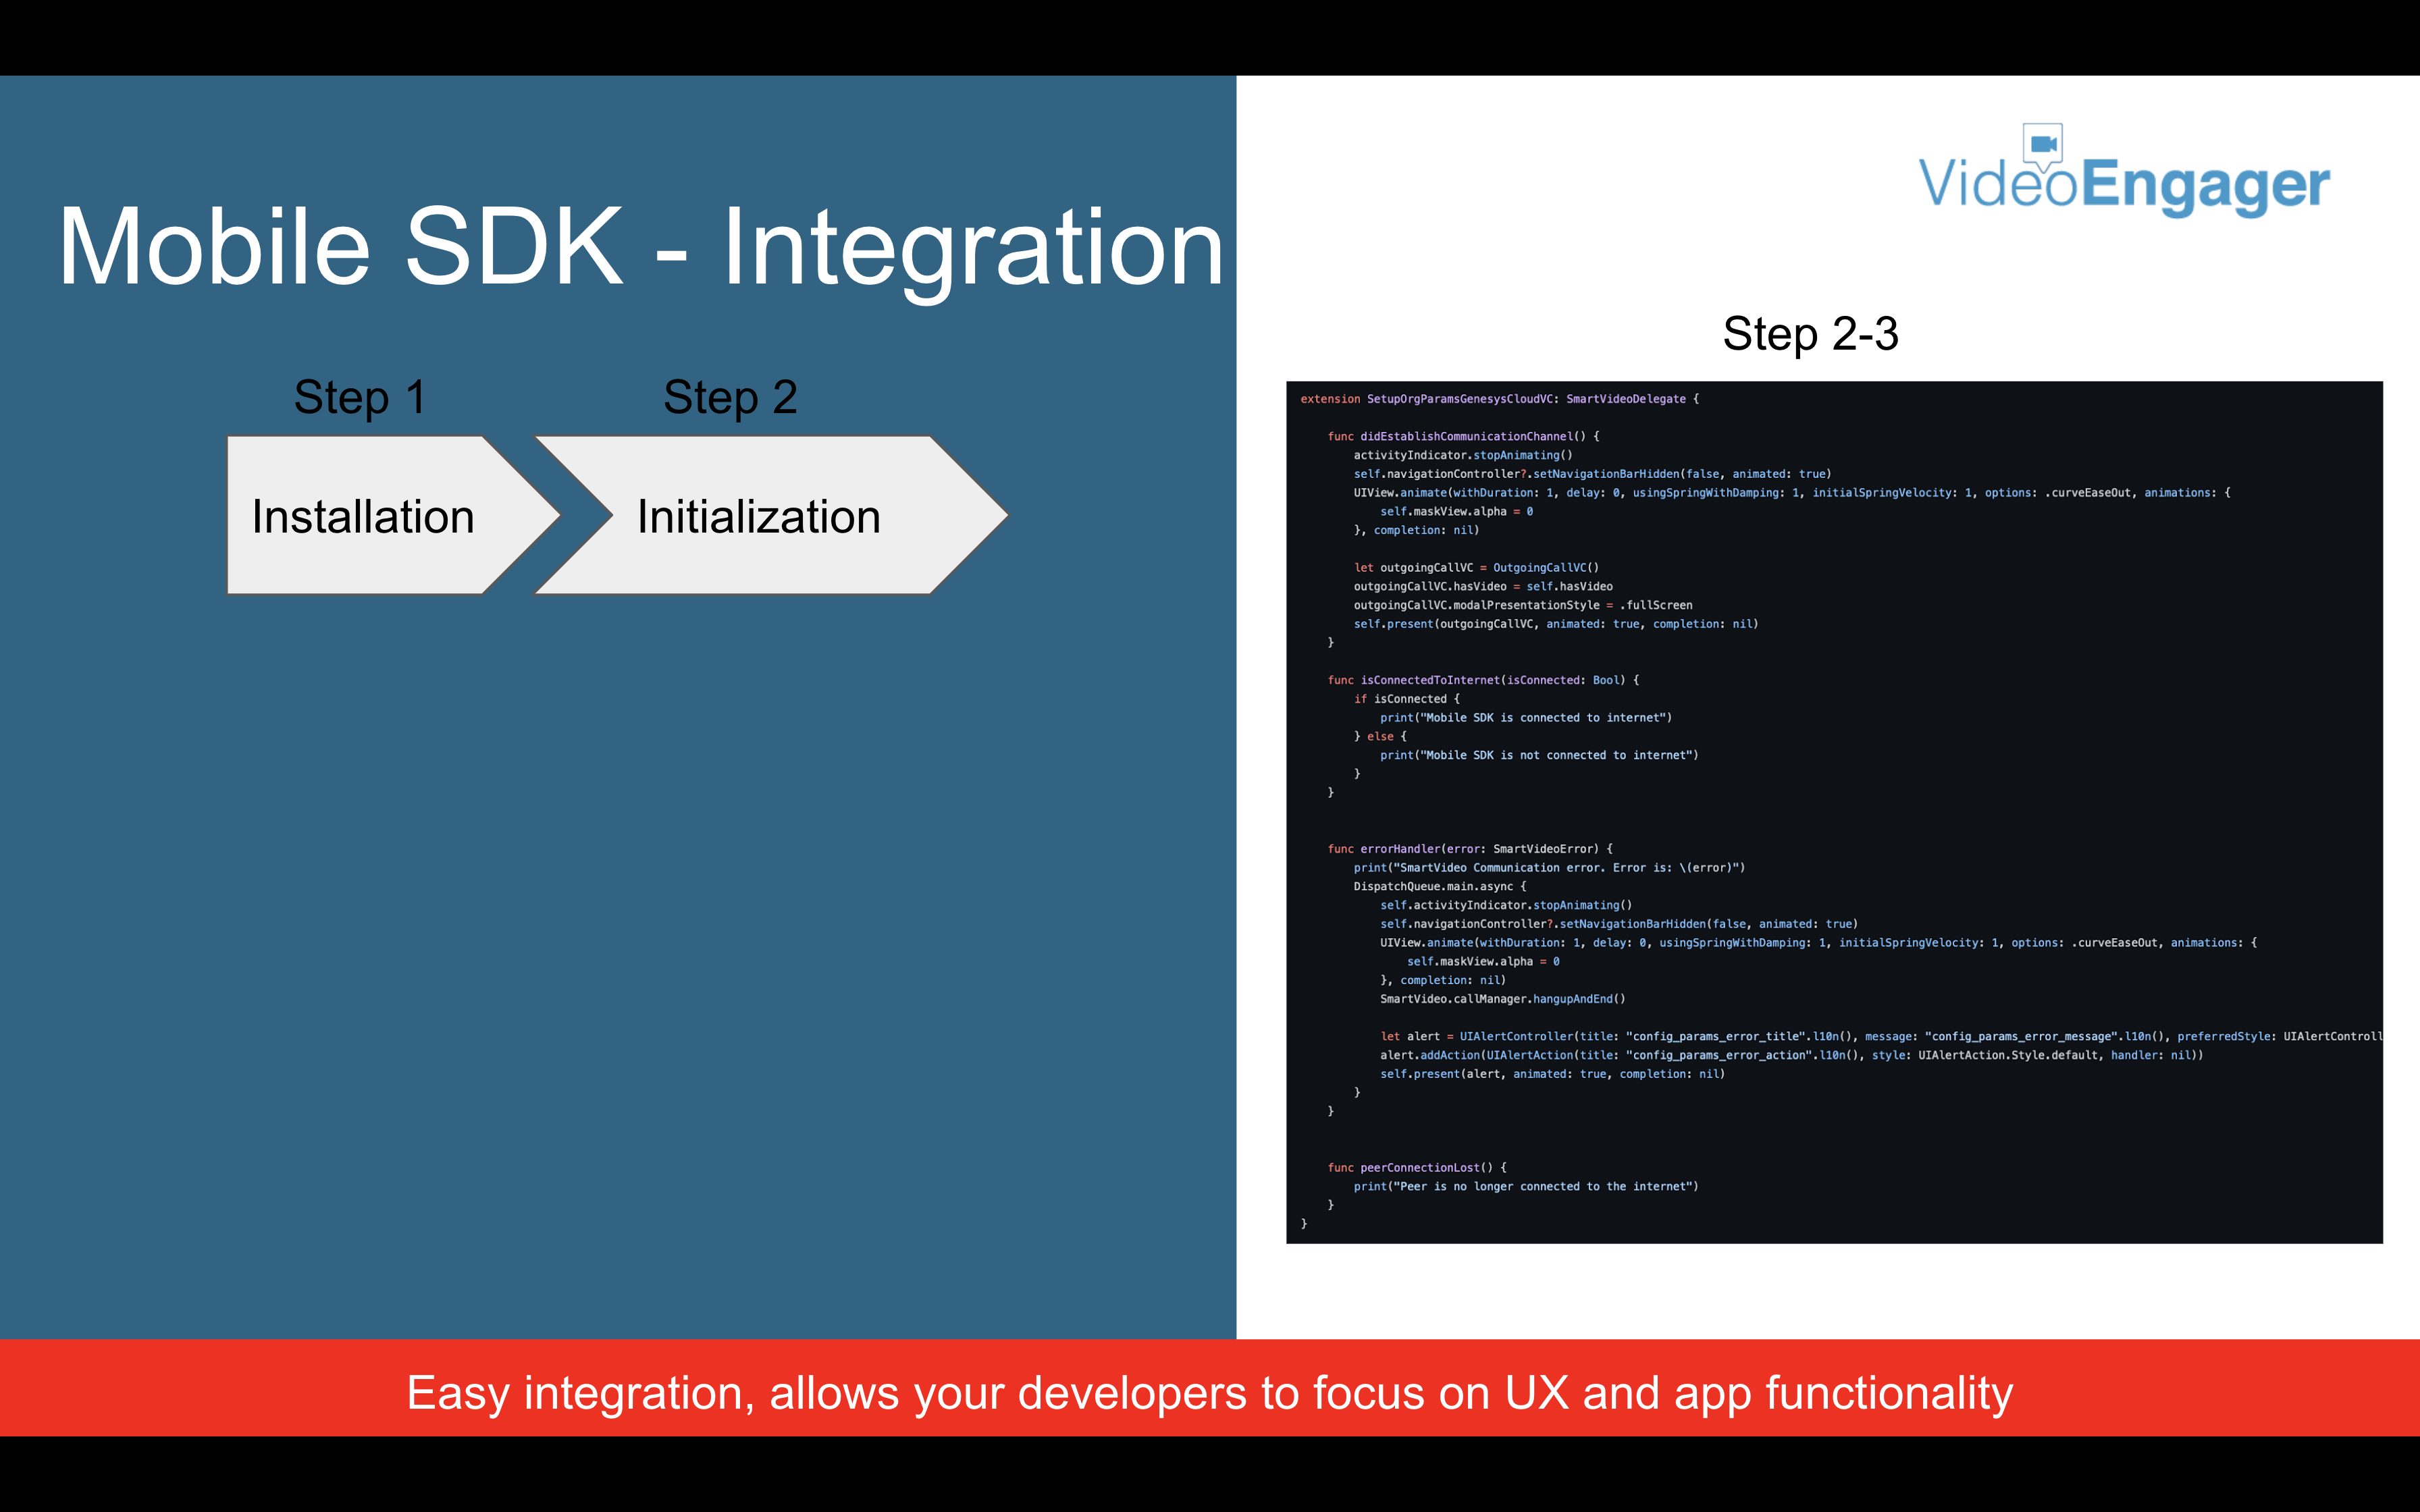
Error Handling
- Build time, and
- Run time errors
errorHandler(error: SmartVideoError). An error at this stage can be triggered, if wrong parameters are provided in SmartVideo-Info.plist. Host app developers shall be responsible for handling errors at this stage. This demo app provides a simplified error handling, which can be reviewed by going to file SetupOrgParamsGenesysCloudVC.swift and looking in the SmartVideo delegate method func errorHandler(error: SmartVideoError)isConnectedToInternet(isConnected: Bool).peerConnectionLost().
Send chat message to Genesys Cloud Agent over Genesys Chat channel
To send chat message one needs to invoke the following method
import SmartVideo

let myAwesomeMessage = "Hola Agent!"
SmartVideo.sendGenesysCloudChat(message: myAwesomeMessage)

// messages in Data format are also supported
// SmartVideo.sendGenesysCloudChat(data: Data)
Receive chat message from Genesys Cloud Agent over Genesys Chat channel
To receive, one needs to add a few optional delegate methods from the SmartVideo delegate. These are:
extension YourViewController: SmartVideoDelegate {

    func genesysCloudChat(message: String) {
         // process incoming chat message
    }

    func genesysCloudChat(data: Data) {
         // process incoming chat message
    }


    func genesysCloudChat(status: String) {
         // process status of chat message
    }

}
Step 3 - Connect host app buttons to SmartVideo SDK
To add buttons for Click-to-Video and/or Click-to-Audio, one needs to create buttons and add targets to these buttons, as shown in the code section below. Here is an example:
// ....


let click2VideoButton: UIButton = {
    let lb = UIButton()
    lb.translatesAutoresizingMaskIntoConstraints = false
    lb.layer.cornerRadius = 10
    lb.layer.borderColor = UIColor.gray.cgColor
    lb.backgroundColor = UIColor.gray
    lb.titleLabel?.font = UIFont.boldSystemFont(ofSize: 16)
    lb.setTitleColor(UIColor.white, for: UIControl.State.normal)
    lb.setTitle("Start Video", for: UIControl.State.normal)
    lb.isEnabled = true
    return lb
}()


let click2VoiceButton: UIButton = {
    let lb = UIButton()
    lb.translatesAutoresizingMaskIntoConstraints = false
    lb.layer.cornerRadius = 10
    lb.layer.borderColor = UIColor.gray.cgColor
    lb.backgroundColor = UIColor.gray
    lb.titleLabel?.font = UIFont.boldSystemFont(ofSize: 16)
    lb.setTitleColor(UIColor.white, for: UIControl.State.normal)
    lb.setTitle("Start Audio", for: UIControl.State.normal)
    lb.isEnabled = true
    return lb
}()


class MyAwesomeVC: UIViewController {


    // ......

    click2VideoButton.addTarget(self, action: #selector(click2VideoButtonDidTap), for: .touchUpInside)
    click2VoiceButton.addTarget(self, action: #selector(click2VoiceButtonDidTap), for: .touchUpInside)

    // ......


}


@objc fileprivate func click2VideoButtonDidTap() {

     // .....

     SmartVideo.environment = .live
     let engine = GenesysEngine(environment: environment, displayName: "Test Customer")
     let lang = "en_US"
     SmartVideo.connect(engine: engine, isVideo: true, lang: lang)

}


@objc fileprivate func click2VoiceButtonDidTap() {

     // .......

     SmartVideo.environment = .live
     let engine = GenesysEngine(environment: environment, displayName: "Test Customer")
     let lang = "en_US"
     SmartVideo.connect(engine: engine, isVideo: false, lang: lang)

}
Last Step - Finish and release your awesome app
Minimum Supported Version
We support iOS 13.0 onwards.
Demo App
We offer a demo app to help minimize onboarding time of app developers. The demo app contains detailed instructions in a README.md file.
We listen to our customers
We, the VideoEngager team, believe that addressing customer pains in timely manner is of utmost importance and key to success for all stakeholders. Our team is highly responsive to customer request. We would like to encourage you to share any suggestions for improvement of troubleshooting guide. To do so, please contact us by sending email to our support team.
Comments
0 comments
Please sign in to leave a comment.